This example describes how to create a new project and a new form with validations and XML schema mapping.
- Click File > New > Project menu item to create a new project file.
- Enter the project’s name in the open dialog and click OK.
- Click File > New > File menu item to create a new form file.
- Enter the form’s name in the open dialog and click OK.
- Select a page size from the paging toolbar if other the default A4 size is needed.
- Drag controls from the Toolbox and drop them on the form surface, thus creating groundwork for the form. The form could look something like this:
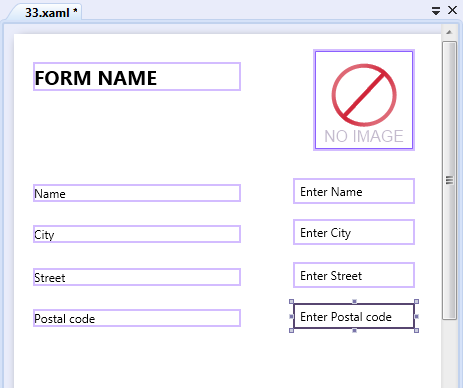
Picture – Example 1 – prepared form
7. If necessary, configure validations on the text box fields. Do that via context menu item Validation…

Picture – Example 1 – validations – settings
8. If necessary, configure the validation error messages.
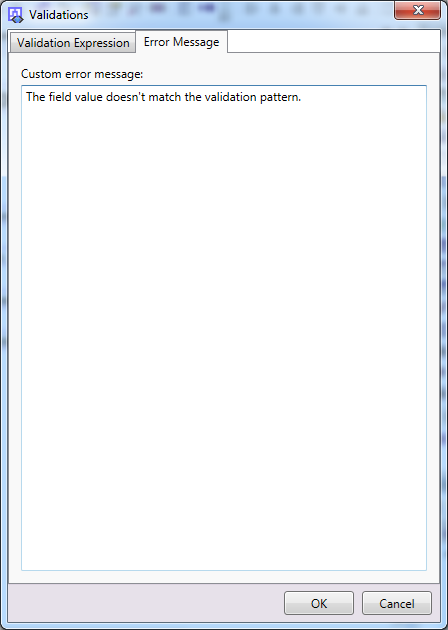
Picture – Example 1 – validations – error message
9. Modify the design of the form.
10. Set the XML schema mapping – to do so click on the icon Mass Mapping (window Schema Mapping will be opened).
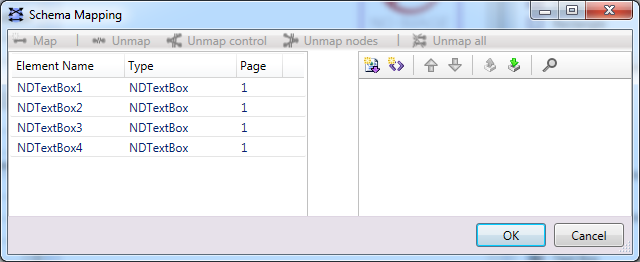
Picture – Example 1 – empty XML schema
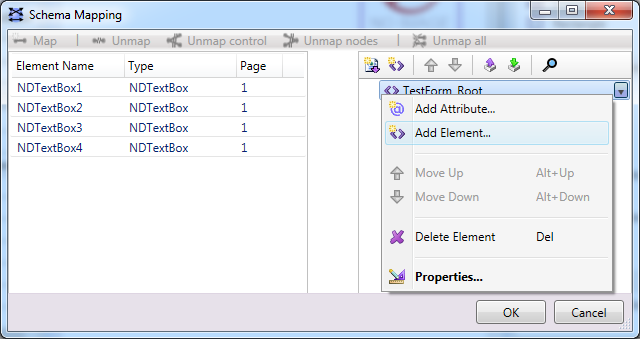
11. Click on the icon Create new schema root element and enter the necessary parameters and values to create the root element.
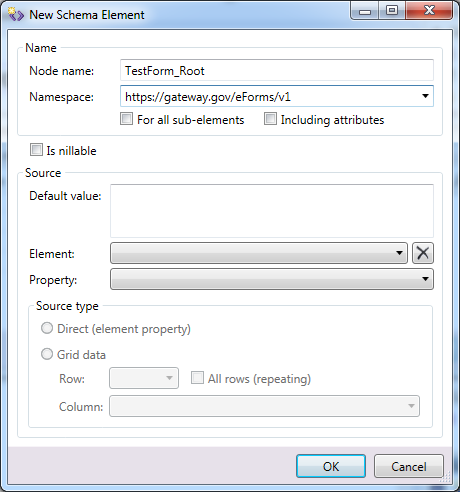
Picture – Example 1 – XML schema – new root element
12. After the root element is created and selected, define the rest of the schema corresponding to the designed form, using the context menu.
13. Click on the icon Mass Mapping to open a dialog for mapping form controls to the defined structure of the XML instance data (the XML schema).
Picture – Example 1 – XML schema – new element
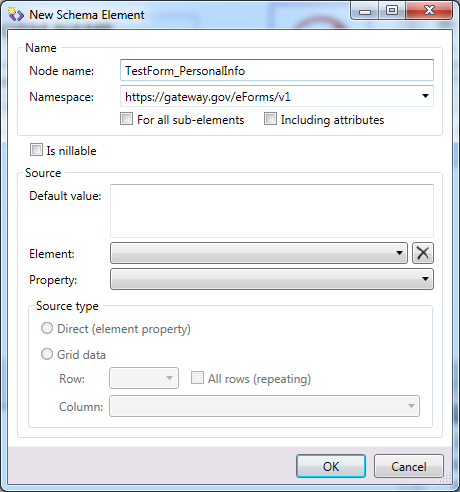
Picture – Example 1 – XML schema – new XML schema element
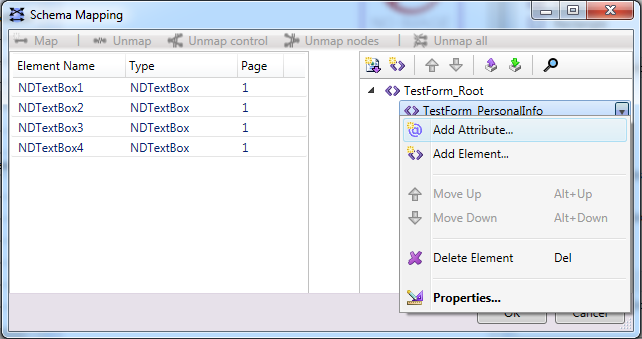
Picture – Example 1 – XML schema – new XML schema attribute
Selecting a form control in the list of controls in the Mass Mapping window highlights the control on the form with a distinct violet border.
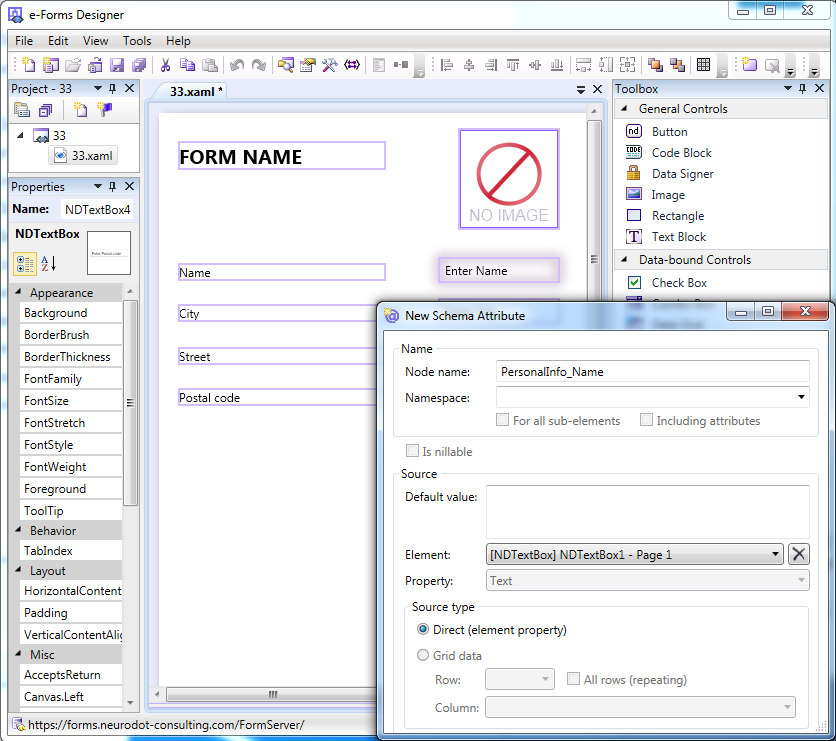
Picture – Example 1 – XML schema – highlighted element
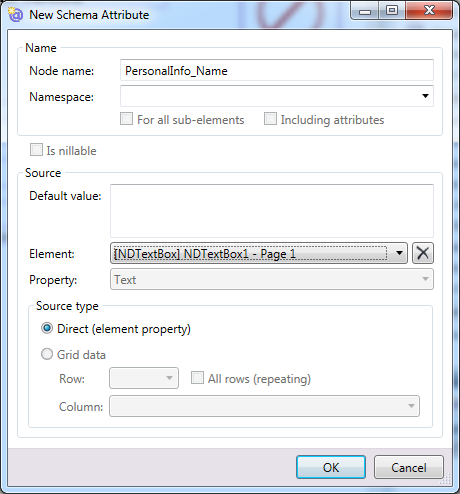
Picture – Example 1 – XML schema – new XML schema attribute
14. Defined mappings of the XML schema are graphically illustrated by violet links.
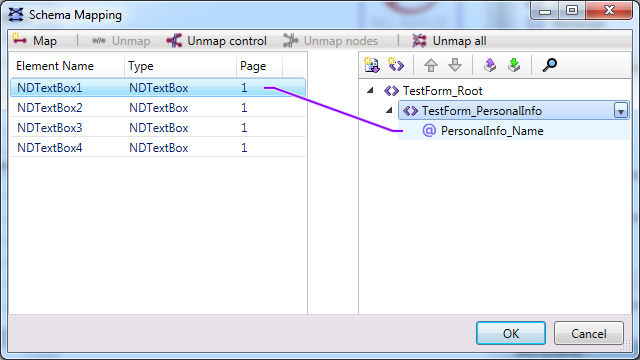
Picture – Example 1 – XML schema – mapping
15. Set the mapping for all the required elements and save the settings.
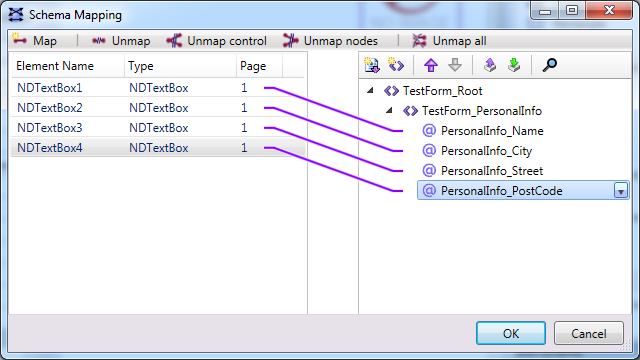
Picture – Example 1 – XML schema – mapping – done
16. When the form design is completed, publish it on the Forms server:
17. Use Publish  icon – the form is published from the application to the server.
If the form is published to the server for the first time, you can select the folder, file name, etc.
See page Publish for details.
If the form has been published on the server before, this the folder cannot be selected.
18. Clicking the Publish button finishes the publication of the form on the server.
19. Example of creating a new form is completed.