This panel is designed to work with the structure of instance data of the forms. The user can create schema root element, can create a schema from a loaded file with a XML sample and can map controls of the form to the Xml schema, using the buttons on the local toolbar. All this in a clear graphical environment.
The panel also allows partially automated form designing using drag & drop of schema nodes onto the form – applies to the elements Text Box and Masked Text Box.
Create new schema root element
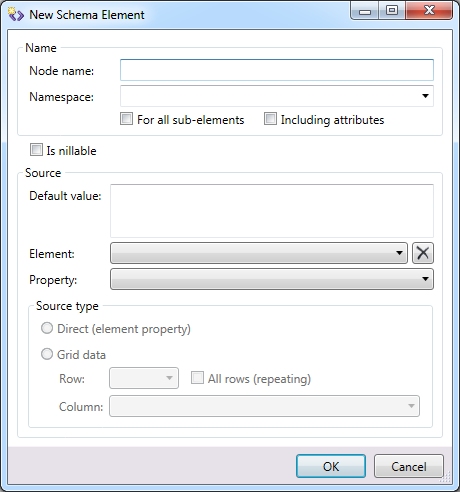
Button Create new schema root element opens a dialog that gathers parameters needed to create the schema’s root node.
| ITEM | DESCRIPTION | NOTE |
| Node name | Name of the schema node | |
| Namespace | Xml namespace of the schema node | |
| For all sub-elements | When checked, the entered namespace is also applied to the child elements (recursively). | |
| Including attributes | When checked, the entered namespace is applied to the child schema attributes. | |
| Is nilable | ||
| Source – Default value | ||
| Source – Element | Selects a control to map to this node. | |
| Source – Property | Shows a property serving as a data source | |
| Source type – Direct | Takes the exact value of the property as the data source | |
| Source type – Grid data | If the source control is DataGrid, a particular grid cell can be selected as a data source | |
| Grid data – Row | Row of the source DataGrid to take as a data source | |
| Grid data – Column | Column of the source DataGrid to take as a data source |
Clicking the OK button saves the changes.
Clicking the Cancel button discards the changes.
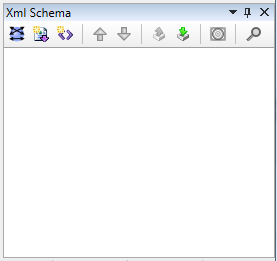
Newly created nodes are shown in the Xml Schema panel.
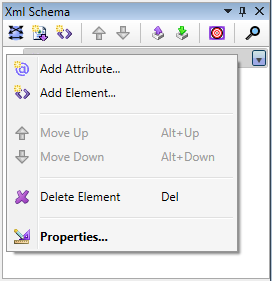
A context menu opens by clicking the button  of the selected node or by right-clicking any node.
Picture – Xml Schema Panel > new root element
Left mouse double-click or the context menu default item Properties opens the schema node dialog.
Context menu item Add Attribute opens a schema node dialog that creates a new child schema attributes.
Context menu item Add Element opens a schema node dialog that creates a new child schema element.
Context menu item Move Up moves the selected schema node up a node.
Context menu item Move Down moves the selected schema node down a node.
Context menu item Delete Element/Attribute removes the selected schema node; the Delete key provides the same function.
Mass Mapping
Clicking the  Mass Mapping button on the schema panel’s toolbar opens a dialog window that allows mapping form controls to the xml schema:
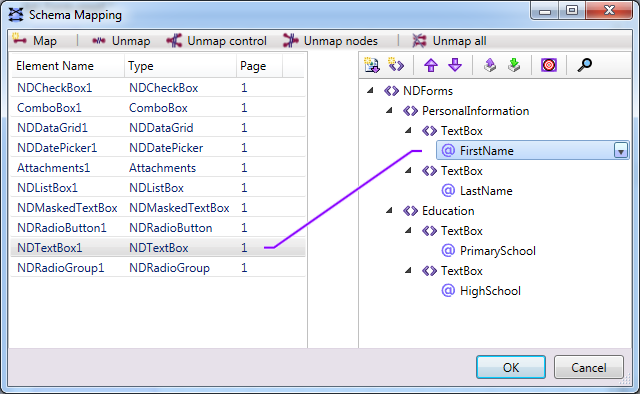
Picture – Xml Schema Panel > Mass Mapping
Button  Unmap all removes all the mappings of all form controls to any XML schema node.
Selecting a control from the list on the left and a node in the xml schema on the right side simultaneously enables the Map button.
Button  Map maps selected control to the selected schema node.
Button  Unmap removes the existing mapping between the selected control and the selected schema node.
Button  Unmap control removes all the schema mappings of the selected control.
Button  Unmap nodes removes mapping from all the selected schema nodes.
Button  Sets target system for defined XML schema. Click on this icon will display a dialog to enter or select an existing one from the list.
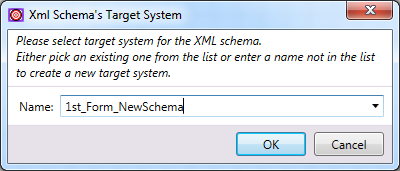
Picture – Xml Schema Panel > Target System dialog
Clicking the  Find Schema Node button on the schema panel’s toolbar opens a dialog that allows finding schema node in the xml schema:
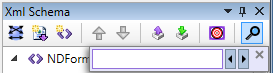
Picture – Xml Schema Panel > Find schema node dialog
Defined schema mappings are illustrated by (violet) links connecting the mapped controls and on the left side and schema nodes on the other side.
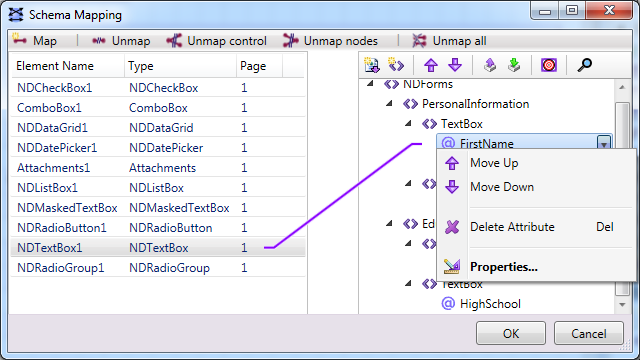
Picture – Xml Schema Panel > Mass Mapping > mapping example
The right side of the dialog (the Xml schema tree) provides a context menu, the same one that is described in the section: Create new schema root element
Clicking the OK button saves the xml schema of the form and show the changes in the Xml Schema panel.
Clicking the Cancel button discards the changes in the schema and closes the dialog.
Create schema from XML sample
Icon  opens a dialog to select an xml file with a defined XML structure from which the XML schema is created.
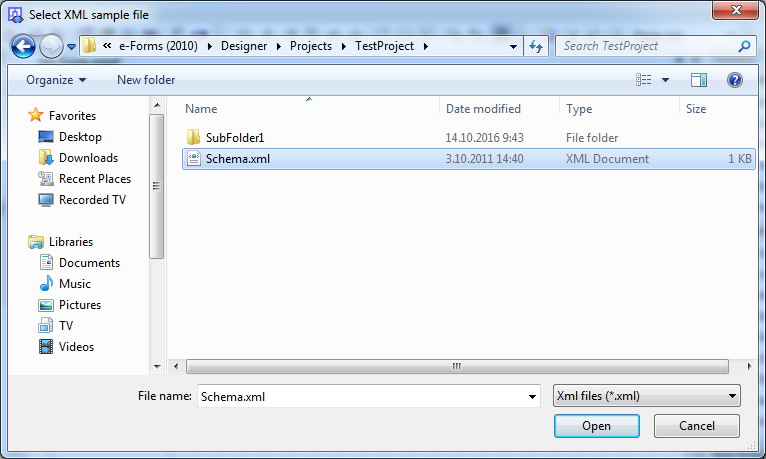
Picture – Xml Schema Panel > XML schema > from file
The XML structure in the file looks like this:
<?xml version="1.0" encoding="utf-8"?>
<NDForms>
	<PersonalInformation>
		<TextBox FirstName="--" />
		<TextBox LastName="--" />
	</PersonalInformation>
	<Education>
		<TextBox PrimarySchool="-unknown-" />
		<TextBox HighSchool="-unknown-" />
	</Education>
</NDForms>
After the schema is created the structure is shown in the Xml Schema panel where it can be further modified as described in chapter Create new schema root element.
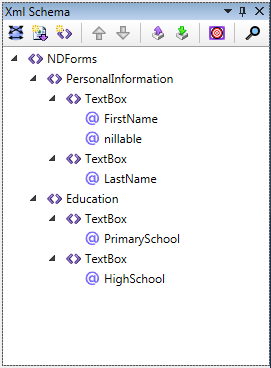
Picture – Xml Schema Panel > XML schema from file
Drag & Drop function of XML schema panel
XML Schema panel also provides a useful function when creating forms based on already used or a third party defined XML structures.
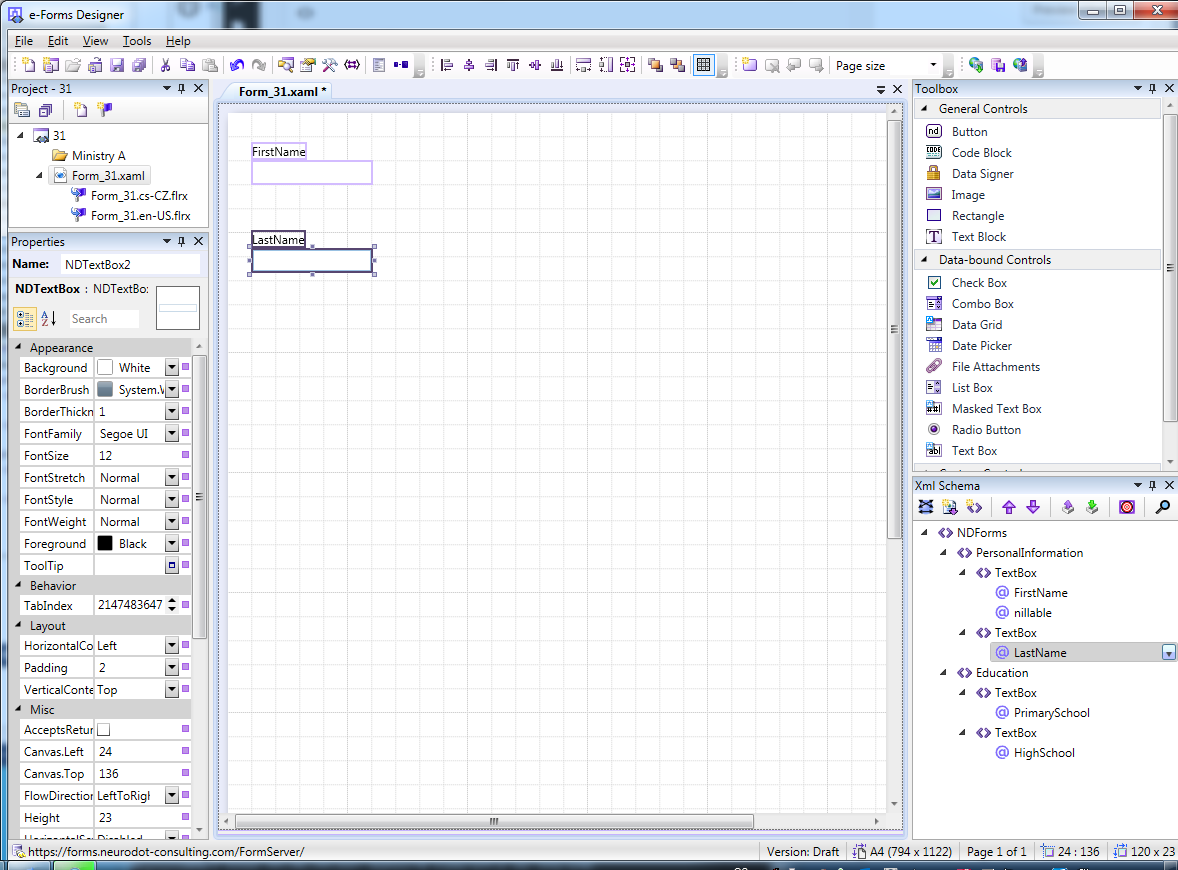
Picture – Xml Schema Panel > drag & drop example
Selected nodes can be dragged from the panel to the form editor, thus creating pairs of elements Text Block and Text Box will be created, utilizing application options described in chapter Setting application parameters.
 If the user holds Ctrl or Shift key a dialog is opened allowing changing the general application options regarding the drop functionality.
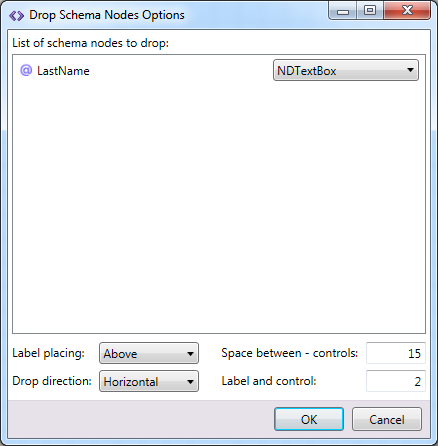
Picture – Xml Schema Panel > drop options